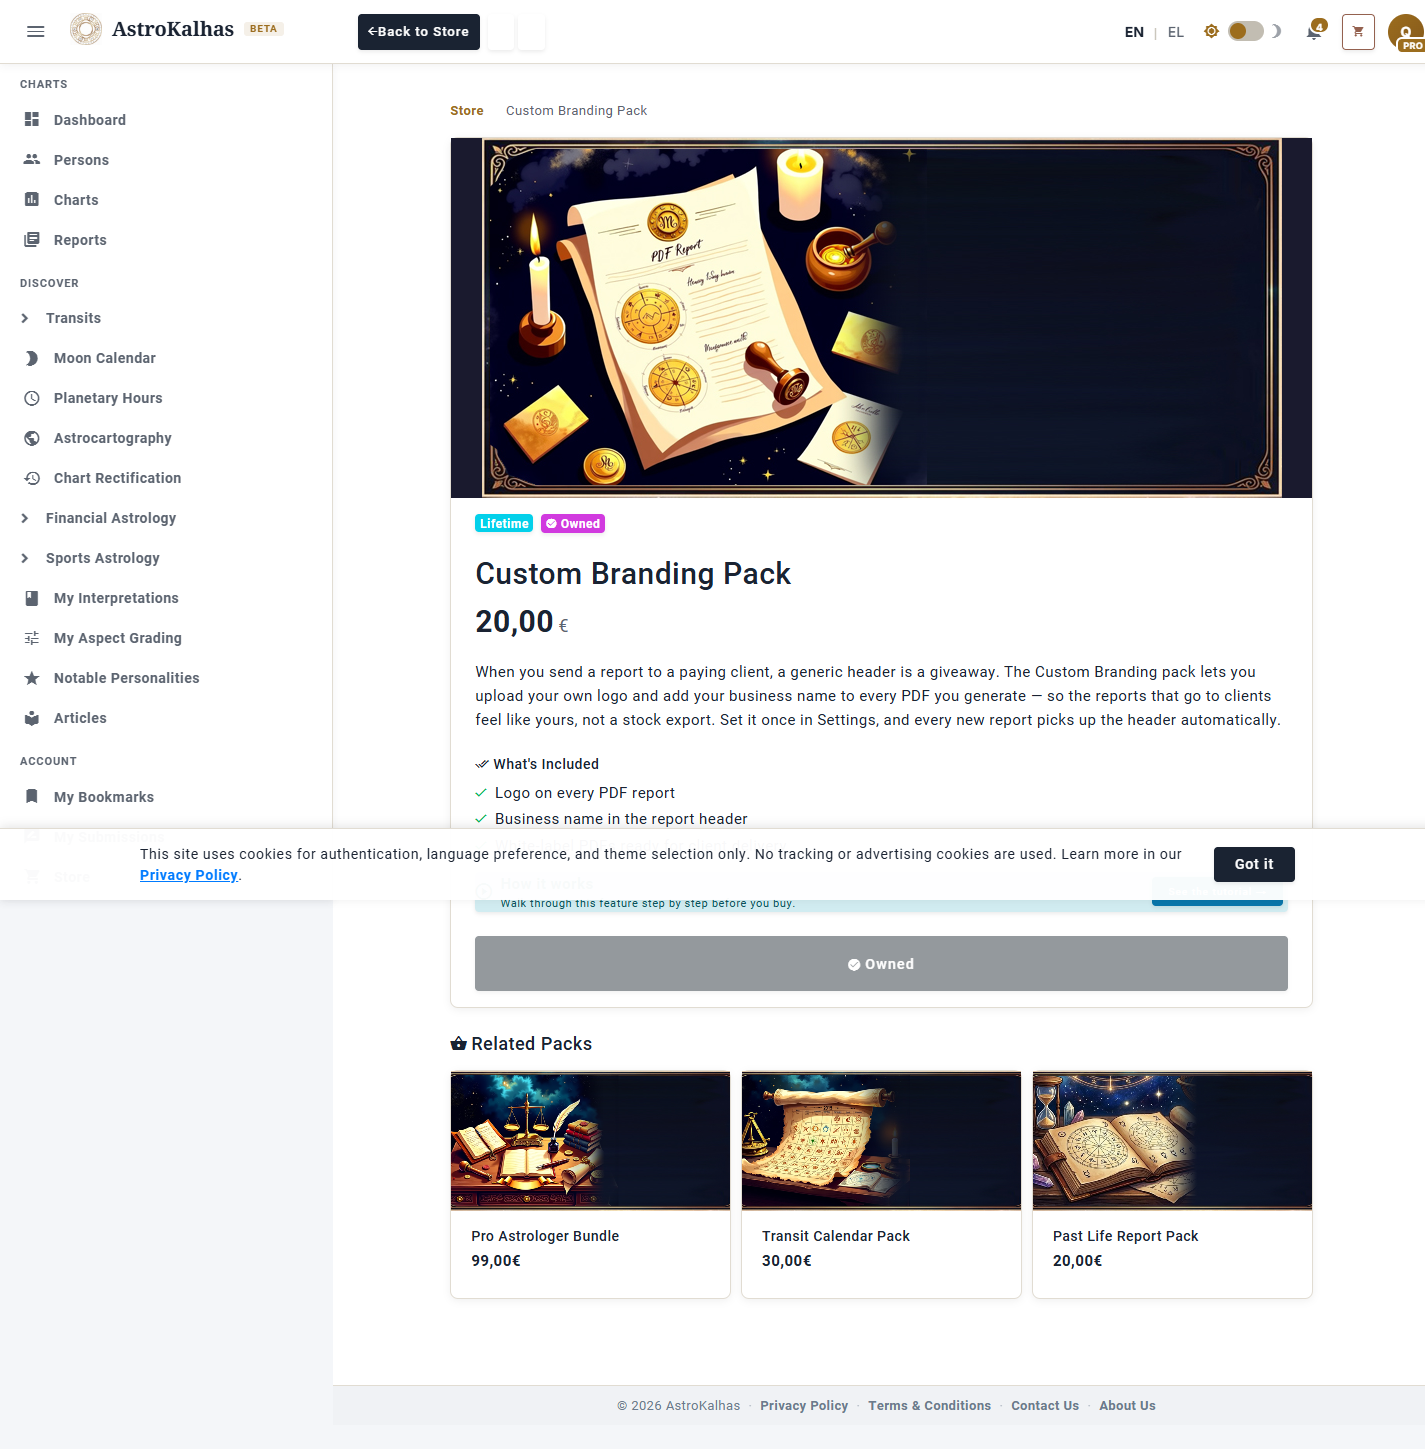
1 Find the Pack in the Store
Open the Store from the main menu and click the Custom Branding Pack card. Add it to your cart and check out — it's a one-time purchase that unlocks the branding controls permanently.
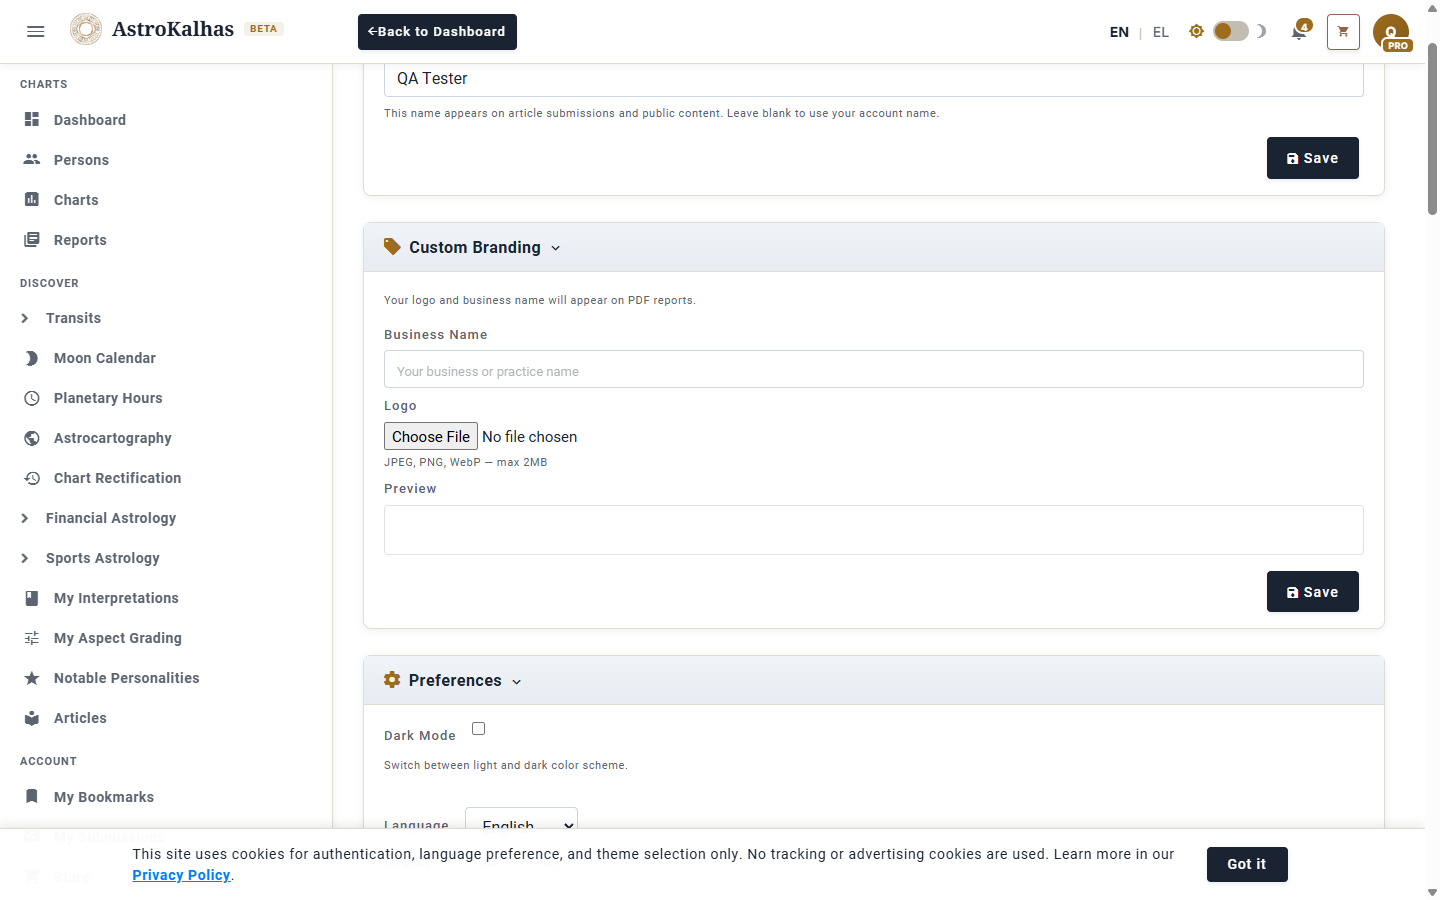
2 Open Settings → Custom Branding
Go to Settings. With the pack active, a new Custom Branding card appears with two fields: a logo uploader (accepts JPEG, PNG or WebP up to 2 MB) and a business name text input.
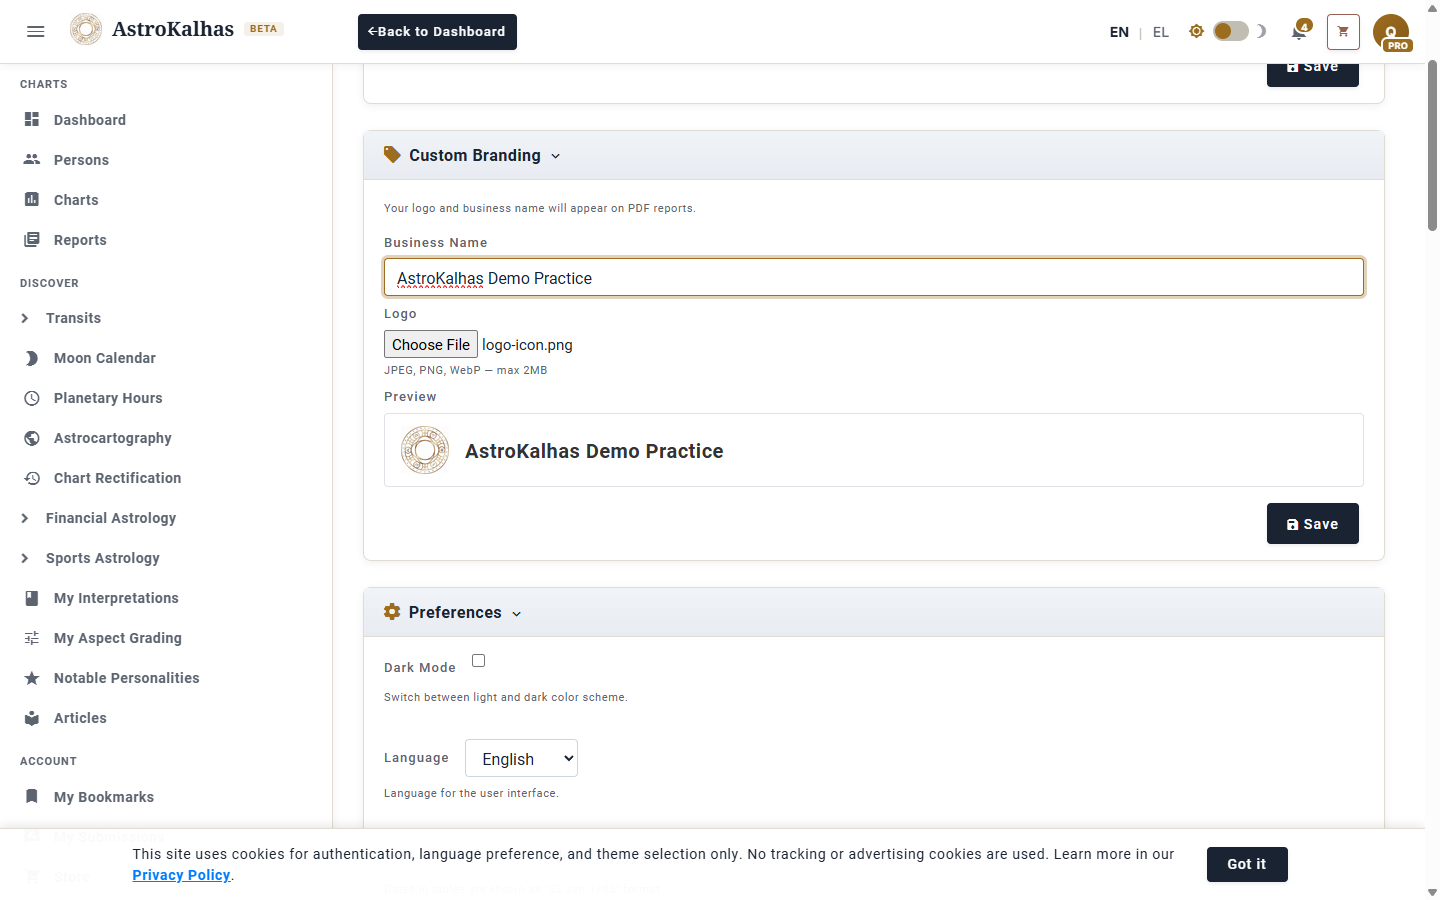
3 Upload Your Logo and Set Your Name
Pick a logo file — a live preview renders immediately so you can confirm it looks right before saving. Enter your business or practice name, then click Save. Both values are stored against your account, not per report, so you don't need to set them every time.
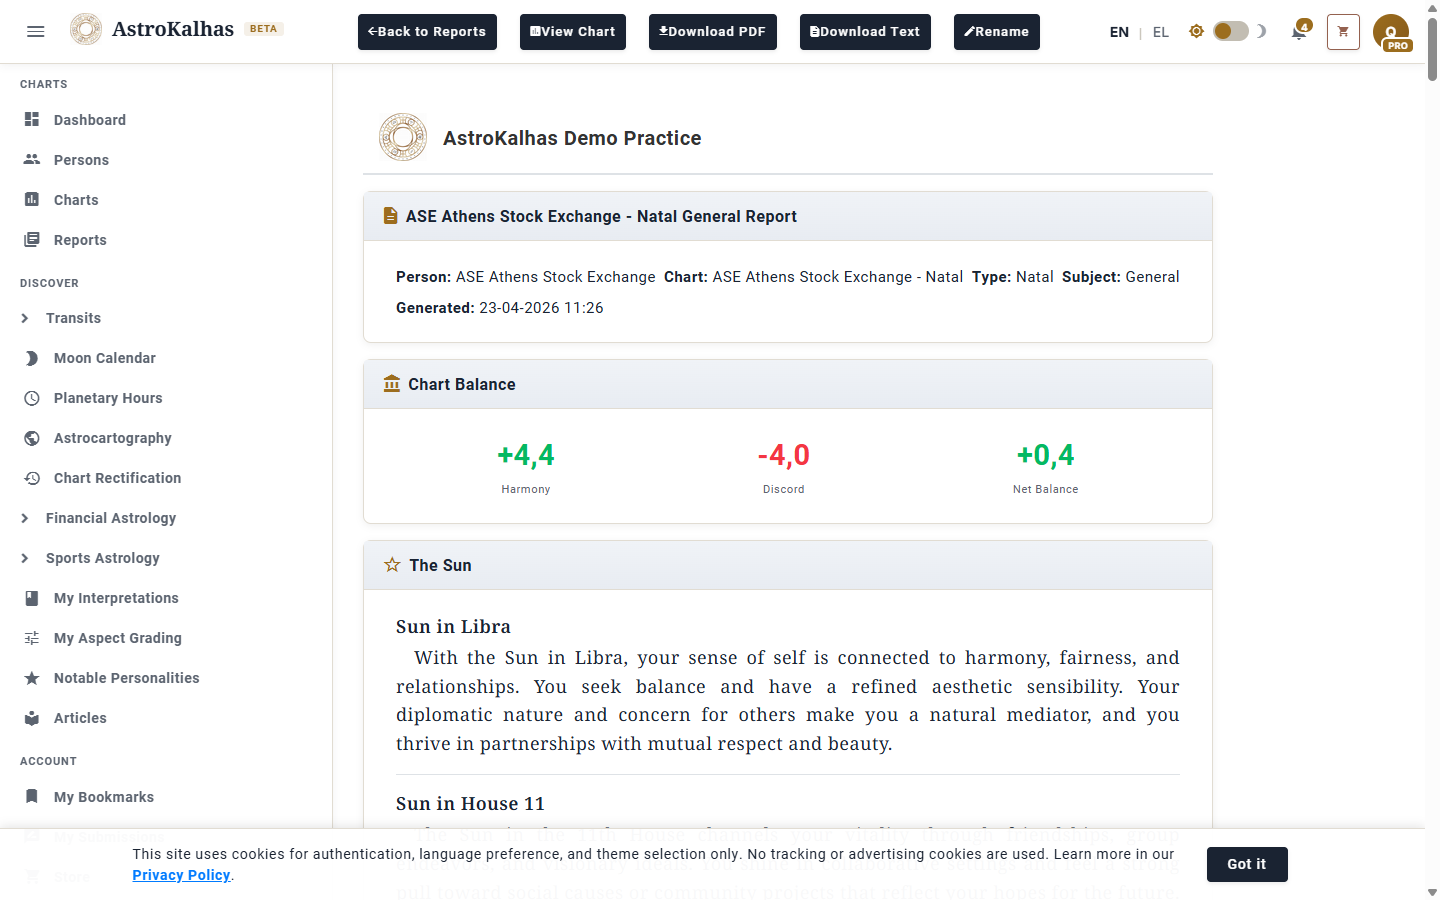
4 Your Branded Report
From now on every report you generate — whether viewed on-screen or exported as PDF — carries your logo and business name in the header. What the client sees feels like it comes from you, not from a stock tool.